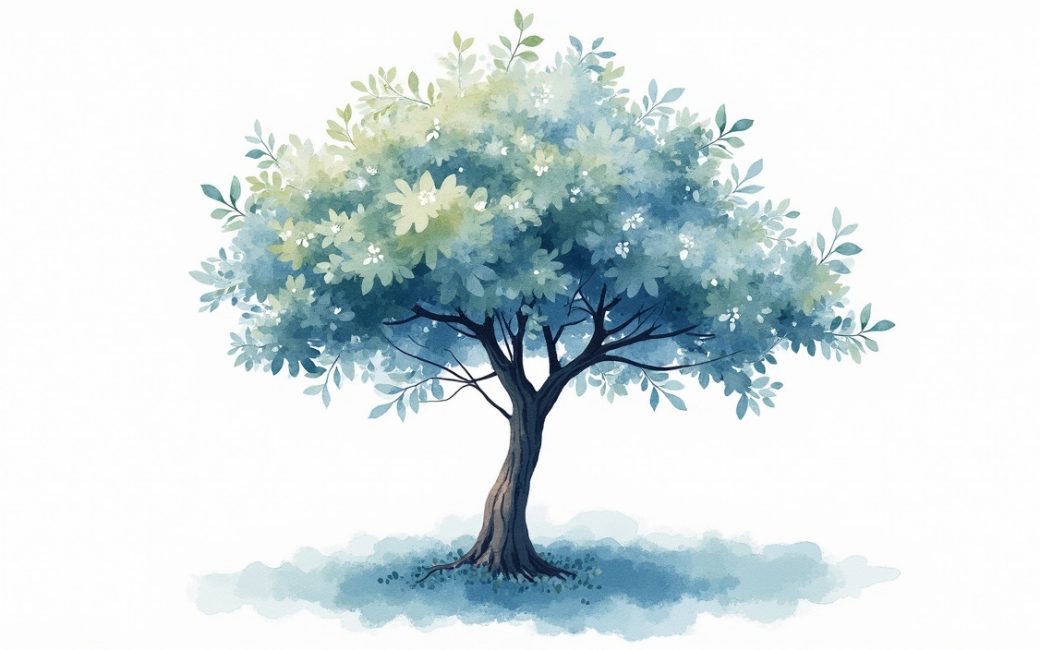
Tree azalea is the common name growers give to azaleas that develop a single or multi-stemmed trunk and an open, small-tree habit rather than staying as a low mounded shrub. Mature size depends heavily on which azalea it is: many evergreen cultivars top out well under head height, while some deciduous native species — including plants often sold under the "tree azalea" name, such as Rhododendron prunifolium — grow tall and leggy enough with age to be limbed up like a small ornamental tree, a habit Native Nurseries describes in its overview of native deciduous azaleas. Because that ultimate size and shape is set by the species and cultivar rather than by how the plant is trained, the surest way to know what a particular tree azalea will become — and the surest way to get more of a form you already like — is to propagate it directly from the plant in front of you. The rest of this article covers how that is done from stem cuttings, which is the standard method for evergreen azaleas and the method most home growers attempt first.
Cutting is taken from semi-ripe current-season growth of an evergreen azalea
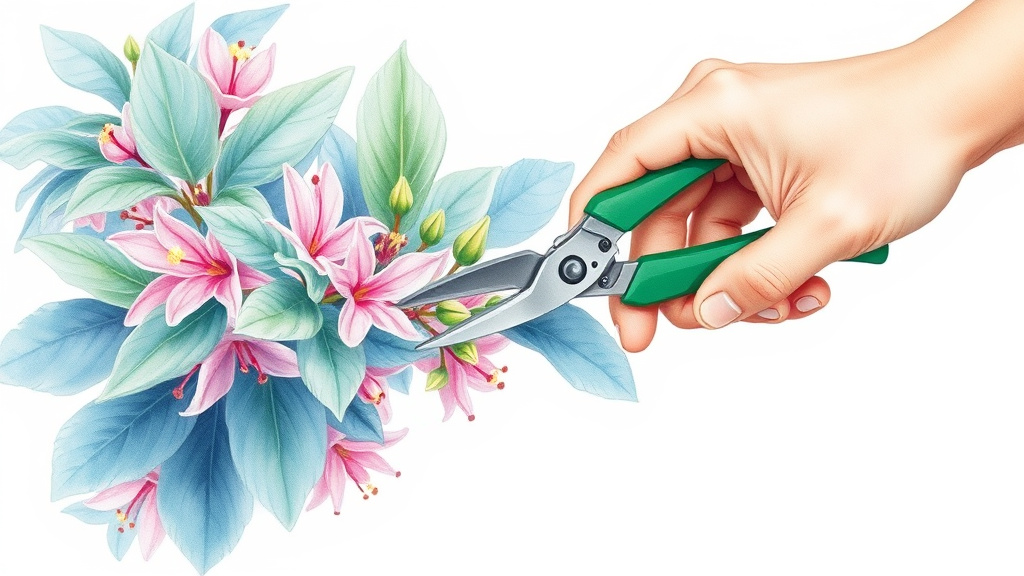
The propagation unit for most evergreen azaleas is a stem cutting taken from wood that grew this season and has begun to firm up but has not yet turned hard and woody — growers call this semi-ripe or semi-hardwood growth. Taking cuttings in the correct order matters more than any single step in isolation, so it helps to see the whole sequence at once:
- Select a healthy, current-season shoot that bends without snapping cleanly and shows no flower buds.
- Cut a length of several inches with sharp, clean tools, taking the cutting early in the day while the plant is well hydrated.
- Strip the leaves from the lower portion of the stem, leaving only the top few leaves intact.
- Dip the cut base in rooting hormone, tapping off any excess powder or gel.
- Insert the base into a moist, free-draining rooting medium in a pot, firming it just enough to hold the cutting upright.
- Enclose the pot in a plastic bag or clear dome to hold humidity around the leaves.
- Keep the medium consistently moist and the pot out of direct sun while roots form.
- Once resistance is felt on a gentle tug, remove the cover gradually and pot the rooted cutting on.
If a branch has already snapped rather than being cut deliberately — a broken shoot from wind or handling — it can still be used, but the ragged, crushed end should be re-cut cleanly with a blade just below the break before any hormone is applied. A crushed or torn base heals poorly and rots before it roots, so the recut matters more than the fact that the wood broke. Snapped sections of older, hardened wood are a poorer bet than snapped current-season growth; the older tissue behaves like any other hardwood cutting and roots far less reliably, so it is worth trying but not worth relying on.
Cutting has no roots so cannot replace water lost through its leaves
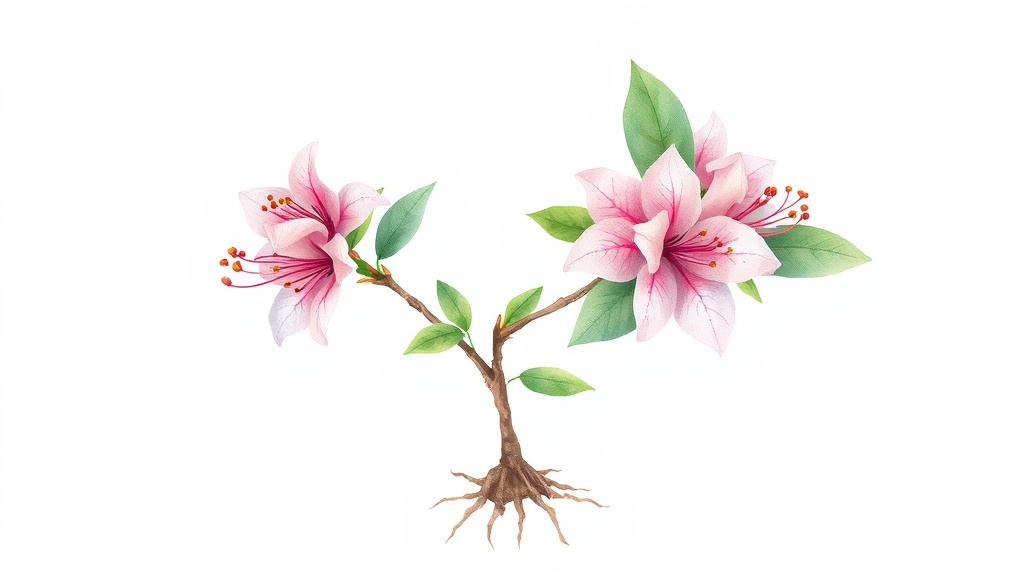
A stem cutting has no root system, so it has no way to replace the water its leaves lose through transpiration, and without intervention the leaves wilt and dry out before any roots have a chance to form. This is the entire reason for enclosing the cutting in plastic: a sealed bag or dome raises humidity around the foliage and slows water loss to something the cutting can survive for the weeks rooting takes. Keeping the medium evenly moist works alongside the cover, supplying what little water uptake the cut base can manage through its wound tissue before roots exist.
This is also why cuttings placed directly in a jar of water tend to fail for azaleas even though the method works for many houseplants. Water rooting keeps the base wet but does nothing to raise humidity around the leaves above the waterline, and it holds the cut surface in a low-oxygen environment that favors rot over root initiation. A solid, free-draining medium does both jobs better: it holds enough moisture at the base to prevent desiccation while still admitting the oxygen the wound tissue needs to callus and produce roots. A cutting that is turgid and holding its leaves flat, rather than curled or drooping, is doing what it should during this stage; that posture, not new top growth, is the sign to watch for early on.
Buried leaves or waterlogged medium stay wet against the stem
When lower leaves are left on the buried part of a cutting, or when the rooting medium stays saturated rather than just moist, the base of the stem sits in constant wetness rather than drying between waterings. That is the most common way an azalea cutting fails: instead of forming roots, the base turns black and soft and rots off entirely. Two changes prevent it:
- Strip every leaf that would end up below the surface of the medium before inserting the cutting, so no leaf tissue is buried and breaking down against the stem.
- Use a free-draining mix — a coarse, open blend rather than a dense potting soil — and water it to evenly moist, never to standing wet, checking that excess water actually leaves the pot rather than pooling at the bottom.
A cutting that blackens at the base within the first couple of weeks has almost always been sitting too wet rather than too dry; azalea cuttings tolerate the drier side of moist far better than they tolerate saturation.
Deciduous azaleas or thick stems root poorly as detached cuttings
Deciduous azaleas, along with any evergreen azalea with unusually thick or hard stem wood, root from detached cuttings at a noticeably lower rate than typical evergreen azalea growth, and growers who attempt it commonly see failure where an equivalent evergreen cutting would have succeeded. Rather than fight that tendency, the standard workaround is layering: a low, flexible stem is wounded lightly on its underside, bent down, and pegged into the soil or a pot of medium while it is still attached to and fed by the parent plant. Because the layer keeps drawing water and nutrients through the parent until its own roots form, it avoids the exact problem a detached cutting faces — there is no window where the tissue is cut off from water supply before roots exist. Once roots are established at the buried point, the layer is severed from the parent and moved as an independently rooted plant. This is slower than taking cuttings but considerably more reliable for deciduous types and for any stem too woody to root well on its own.
Stem cutting
A stem cutting is simply the severed section of shoot used as the entire propagation unit — everything the new plant will grow from is contained in that one piece of stem, its leaves, and whatever buds are present along its length. Its success depends on the tissue staying alive and hydrated long enough to grow roots before it either dries out or rots, which is why every other step in the process — hormone, humidity, drainage — exists to manage that narrow margin.
Semi-ripe new growth
Semi-ripe growth is current-season stem that has started to firm up but has not yet hardened into mature woody tissue; it typically bends without snapping and shows a slight give rather than either the limpness of very soft new growth or the stiffness of old wood. This intermediate stage is preferred for azalea cuttings because it roots faster and more reliably than fully hardened wood, while holding together better under handling than the very soft tips at the growing point.
Timing of cutting collection
The stage of the wood at collection affects the outcome more than the calendar date does, since semi-ripe growth can appear earlier or later in the season depending on climate and the individual plant. Once cuttings are taken and set up correctly, rooting itself is gradual rather than immediate: in the first one to two weeks there is typically no visible change and the goal is simply keeping the cutting turgid; by three to four weeks a gentle tug often meets slight resistance where callus and early roots are forming at the base; by five to six weeks new root growth is usually substantial enough that a light tug shows clear resistance and the top may begin to show fresh growth. Rather than pulling a cutting to check, the more reliable way to test without damaging it is to look for new leaf growth at the tip, which rarely appears until a functional root system is supporting it, or to lift the whole plug of medium gently from the pot to look at the base without separating the cutting from its rooting mix.
Rooting hormone
Rooting hormone is an auxin preparation, usually a powder or gel, applied to the freshly cut base of a stem to encourage it to initiate roots rather than simply callus over or rot. It does not replace correct handling — humidity, drainage, and clean cuts still determine whether the cutting survives long enough to use the hormone's effect — but on azalea wood it measurably improves the odds and speed of rooting compared with an untreated cutting.
Leaf removal on lower stem
Stripping the leaves from the portion of stem that will be buried keeps that plant tissue from decomposing underground and fouling the base with rot before roots can form. Only the leaves on the top, exposed portion of the cutting are left in place, since those are what the plant needs to keep photosynthesizing while it has no root system of its own.
Once a cutting has rooted and been potted on, give it a season in a container in filtered light before deciding where its permanent, mature-sized home should be — that choice is easier to get right on a plant already carrying its own roots than on one still waiting to grow them.