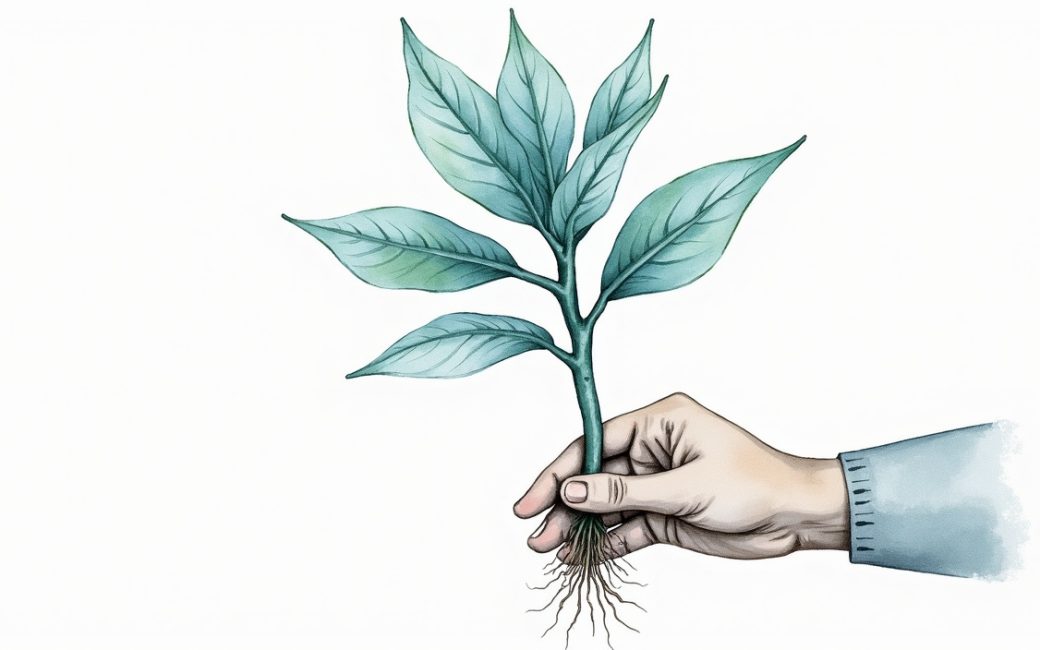
Azaleas will not root reliably in a glass of water. A cutting held in water has no way to develop the callus tissue and fine root hairs that form in a moist, oxygenated medium, and the stem tissue that does sit underwater tends to soften and rot before any root initiation happens. Rooting in a free-draining solid medium, rather than water, is the method that actually produces a plant, and that's the method this article walks through.
Cutting is taken from semi-ripe current-season growth of an evergreen azalea
The cutting comes from wood grown this season that has started to firm at the base but is still flexible at the tip — not soft new growth, and not wood that has gone fully hard and woody. This stage is usually reached in early to midsummer on evergreen azaleas, after the spring growth flush has hardened somewhat but before it lignifies completely, a window described in Gail Damerow's notes on rooting azalea cuttings. A cutting of roughly three to five inches, taken just below a leaf node with a clean, sharp cut, is typical.
Once cut, the lower leaves are stripped off the bottom half to two-thirds of the stem, leaving only a few leaves at the tip. The bare base is then dipped in rooting hormone — a powder or gel formulation of a rooting auxin — which is worked into the wound at the cut surface, not smeared up the stem. Gardening Know How's step-by-step guide lists this hormone dip as a standard step for evergreen azalea cuttings, since it shortens the time to root initiation and improves the percentage of cuttings that take.
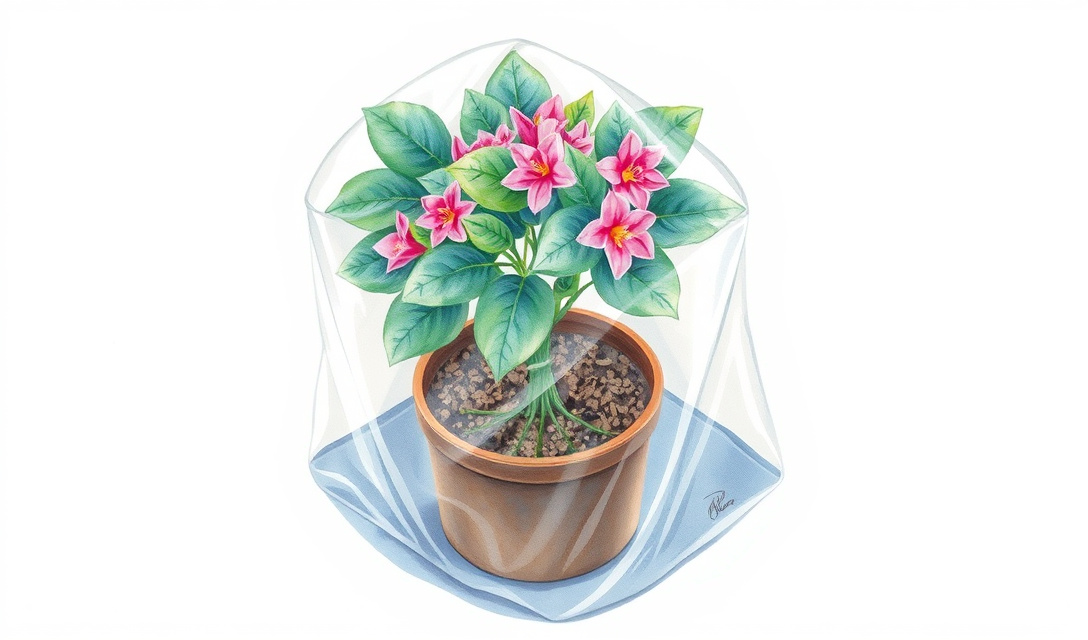
The treated cutting goes into a pot filled with a moist, free-draining medium — a mix such as peat and perlite or peat and coarse sand is typical, since it holds moisture without staying waterlogged. The pot is then covered with a clear plastic bag or propagator lid to hold humidity around the leaves. From there, the routine described in an azalea chapter's stem-cutting propagation guide is mostly about waiting and checking at set points:
- Weeks 1–2: the cutting should stay green and turgid but show no visible growth; this is callusing, not rooting yet.
- Weeks 3–5: a gentle tug at the base will meet resistance once roots have started to anchor the cutting — this is the point to check rather than pulling the cutting out to look.
- Weeks 6–8: new leaf growth at the tip is the clearest outward sign that a root system is functioning and the cutting can be weaned off the humidity cover.
Once new growth confirms rooting, the plastic is removed gradually over several days rather than all at once, and the rooted cutting is potted on into its own container with a standard well-draining potting mix.
Cutting has no roots so cannot replace water lost through its leaves
A stem cutting has no root system, so every drop of water lost through its leaves is water it cannot replace. This is the entire reason the humidity cover exists: without roots pulling moisture from the medium, the leaves will wilt and dry out within hours in open air, well before any rooting has had a chance to start.
Enclosing the pot in clear plastic slows transpiration by keeping the air around the leaves close to saturated, so the cutting loses far less water to evaporation. The Gardener's World guide to growing azaleas treats this covering step as essential rather than optional — a cutting left uncovered in a dry room is likely to fail regardless of how well the base was prepared or hormone-treated. The medium itself needs to stay consistently moist under the cover, since a cutting sitting in a dry pot inside a humid bag still has nothing to draw from.
Kept this way, the cutting should stay turgid — firm, upright leaves with no curling or crisping at the edges — for the several weeks it takes for roots to form. Any wilting during this period is a sign the cover isn't holding humidity, not a sign that rooting has failed outright, and it's usually correctable by re-sealing the bag or misting the leaves before the tissue is damaged beyond recovery.
Buried leaves or waterlogged medium stay wet against the stem
The single most common way azalea cuttings fail is not drying out — it's rotting, because leaf material or oversaturated medium sits wet against the stem base. Home propagators discussing the problem in a thread on rooting azalea cuttings repeatedly point to this as the failure people run into after their first attempt: the cutting looks fine, then the base turns black and soft and the whole stem collapses, well before any leaf-tip growth would signal rooting.
The cause is usually one of two setup mistakes. Either leaves were left on the buried portion of the stem, where they decompose against the cut surface and invite rot organisms in, or the medium itself was kept saturated rather than simply moist, leaving the base sitting in standing water with no oxygen exchange. Both problems point to the same fix: strip all leaves from the section of stem that will be inserted into the medium, and use a mix that drains freely — perlite, coarse sand, or a peat blend cut with either — watered enough to stay damp but never left soggy.
Checking drainage before inserting cuttings is worth the extra minute: a pot that still has water sitting on the surface an hour after watering is holding too much moisture for cutting propagation and should be amended with more perlite or grit before it's used again.
Deciduous azaleas or thick stems root poorly as detached cuttings
Deciduous azaleas, and any evergreen azalea stem too thick or too woody to root well as a cutting, are generally poor candidates for the cutting method described above. A propagation overview from azaleas.org notes that deciduous types root far less readily from stem cuttings than evergreen azaleas do, which is why layering and seed propagation are the more commonly recommended routes for this group rather than treating them as a direct cutting substitute.
Layering solves the water-supply problem that makes cuttings fragile in the first place, since the stem being rooted is never detached from the parent plant until roots have already formed. A low, flexible stem is wounded on its underside — a shallow cut or a twist that exposes the cambium — then pegged down into a shallow trench of soil or a pot of medium set beside the plant, with the wounded section buried and the growing tip left exposed above ground. A gardener's account of layering azaleas describes this wounding step as key to triggering root formation at the buried point, since an unwounded stem often simply continues growing without producing roots. Because the parent plant keeps supplying water and nutrients through the still-attached stem, layering tolerates much slower rooting than a cutting can, which suits deciduous azaleas' naturally poorer rooting response.
This same logic answers the question of what to do with a broken azalea branch. A branch snapped from older, hardened wood is a poor candidate for rooting as a cutting no matter how it's treated afterward — it lacks the semi-ripe tissue that responds to hormone treatment. If the branch is still attached, or attachable, low-growing enough to bend down to soil level, layering it in place is far more likely to succeed than trying to root the broken piece directly. If the broken piece is fully detached and came from semi-ripe current-season wood rather than old wood, it's worth recutting the base cleanly just below a node with a sharp blade — a crushed or ragged snap doesn't callus well — then treating it exactly as a normal stem cutting: hormone dip, free-draining medium, humidity cover, and the same several-week wait.
Rooting hormone
Rooting hormone is a preparation of synthetic auxin applied directly to the cut base of a stem cutting to encourage root initiation at that wound site. It doesn't create roots on its own — the cutting still needs adequate humidity, a free-draining medium, and time — but it shortens how long that process takes and raises the percentage of cuttings that root successfully, which is why it's treated as a standard step for azalea cuttings rather than an optional extra.
For anyone starting with a single favorite plant, the safest first attempt is a batch of several cuttings rather than one — enough that a failure or two from rot or drying out doesn't mean starting over from nothing.